Active Directory Integration
Overview
As a user administrater, you have the option to import users in FileFlex from the Active Directory(AD) and sync groups between FileFlex and AD so that user management can be done in AD itself.
Prerequisite
FileFlex Server can be hosted on cloud or any network where AD may or may not be present. In order for FileFlex to connect to AD Server, it needs at least one FileFlex Connector Agent installed on the same network where the AD server is installed.
Before you initiate AD integration ensure that there is a device where the FileFlex Connector agent is installed. The device should be always up and running and should not be occasionally turned off.
More details about connector agents can be found here.
How to integrate Active Directory with FileFlex?
- Login to FileFlex application using admin credentials.
- If you are using a multi-tenant instance of FileFlex Server, ensure the appropriate company is selected in the drop-down.
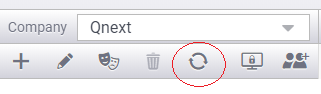
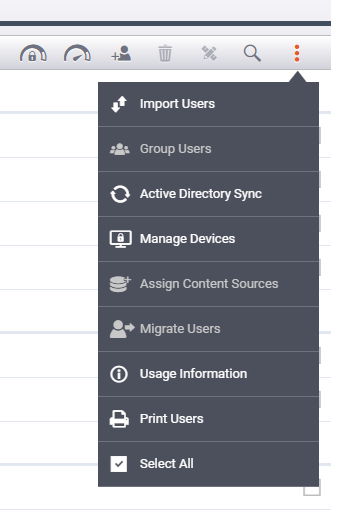
- Click on the Active Directory icon on the toolbar or locate Active Directory in the Admin context Menu.
or
- You will be presented with below screen
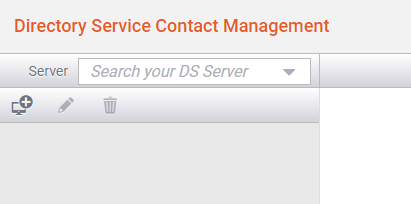
- Click on the icon "Add new Active Directory Server"

- In case the icon is shown disabled, you would need to install a FileFlex Connector Agent as mentioned in the prerequisite section.
- You will be presented with the below dialogue ( filled with sample data ).
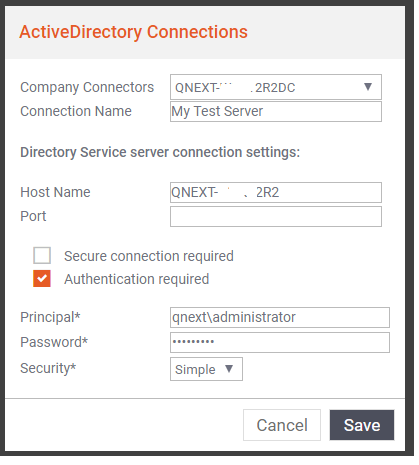
- Click Save and this completes the process of integrating with the AD server.
- Wait for some time till the synch of Active Directory data gets completed and you will be shown the imported contacts.
How to sync AD group with FileFlex
The purpose of the previous step was to enable FileFlex Server to communicate with the Active Directory server and import existing contacts so that the regular users of Fileflex can start using the pre-existing groups and contacts created in AD and share items with them. This enables you to do user management at one place i.e. Active Directory and not repeat the same in FileFlex.
Once the import and integration with AD get completed, as an admin you would want to specify which groups in Active Directory you want to assign for full users of Fileflex.
As an admin, you would need to mark the groups whose members are supposed to get license to use Fileflex. Users in the selected group(s) would be counted as purchased seats in FileFlex Server. Other users who are not marked can only view content that is shared with them by a full user of fileflex.
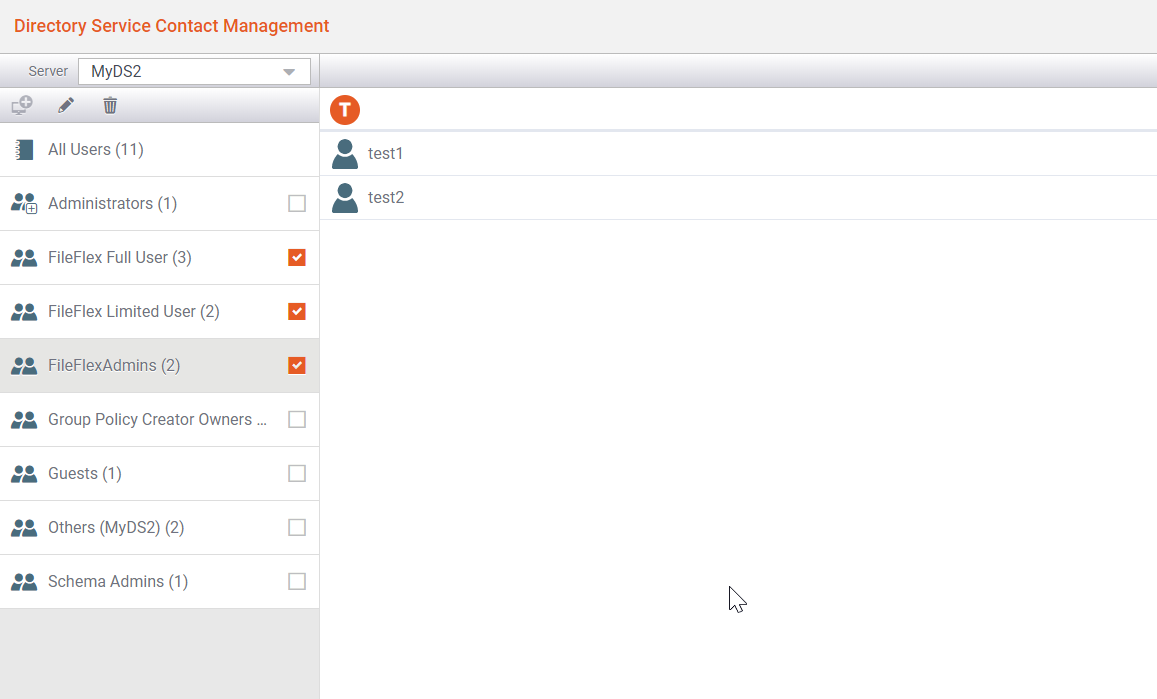
As an example below, In below AD server connection, admin wants to only select users under the groups meant for FileFlex Users and FileFlex Admin marked them checked. This means all the users of these three selected groups will be counted towards Fileflex user quota.
Creating FileFlex Regular User group
It is recommended that you consider creating new group(s) in Active Directory and ensure all users who need to have Fileflex access are part of it. If you want to add or remove access you need to edit this group membership on Active Directory and it gets replicated to FielFlex. As an e.g. shown above, admin has created three groups meant for FileFlex Administrators, FileFlex users with full permission and FileFlex with limited permissions. Concept of permissions is explained in detail here,
Once the groups are checked you would need to change the role of the group as by default they are given default access to Fileflex.
Editing Group Permissions
Click on the selected group and click on the context menu as shown below.
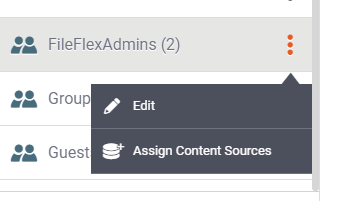
Click EDIT.
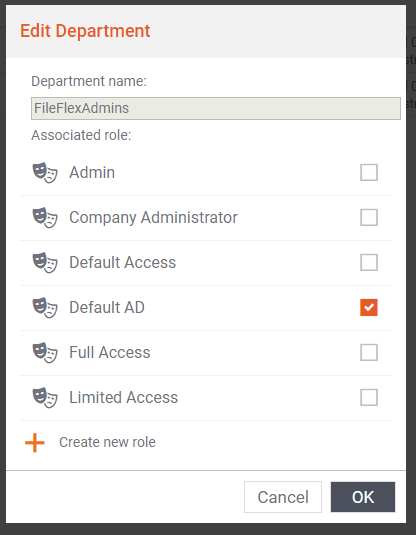
Change the roles appropriate for the group. In this example, we would select the company administrator for this group.
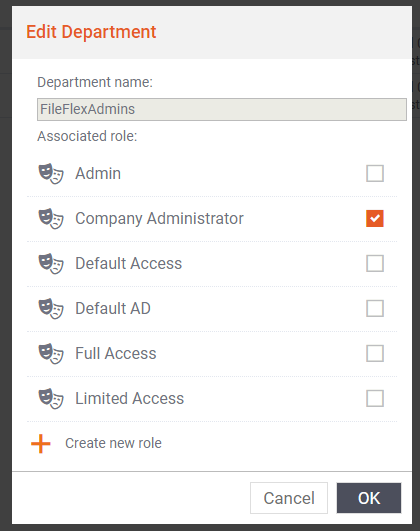
Click OK and group role is now changed. All the users of this group will now have the FileFLex Admin role.
Repeat this for all newly created Fielflex groups.
Click here for more information on roles and permission.
By Default FileFlex syncs all the changes in with Activity Directory once every hour. So If you have made some changes at the group or user level, those will come into effect after the next sync is complete.
Error Reporting
In case there are issues with the sync e.g. Device hosting FileFlex Connector Agent is down, or AD server is down or AD groups to be synced exceed the seat quota, all such issues are reported to the company administrators via email.
All the administrative users who have company admin access will be sent an email on regular intervals till the problem is resolved.