How to Import from Outlook
Note: You will need authorization from your IT department in order to be able to import your Outlook contacts. If you have permission, use the following steps to import Outlook contacts.
Note: The following instructions are from the 2016 version of Outlook, other versions will be very similar. If you have a different version of outlook, see Microsoft's Help Page for exporting contacts to a .csv file, then continue with step 7 of this tutorial.
1. Open Outlook. In the top left, click File. In the dropdown menu that appears, click Open & Export and then Import/Export.
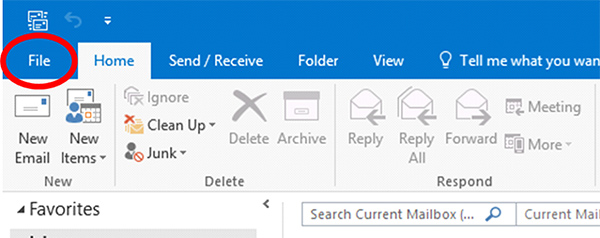
Select File
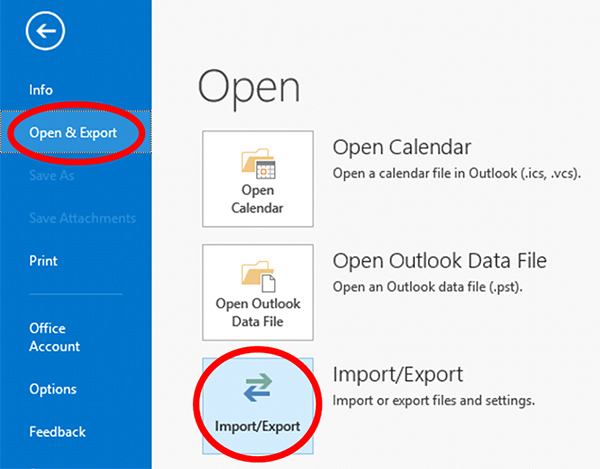
Select 'Open & Export', then 'Import/Export'
2. In the Import and Export Wizard select Export to a file, then select Next.
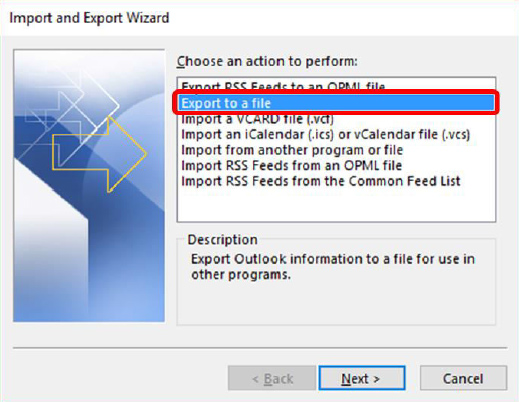
Select 'Export to a file', then Next
3. Choose Comma Separated Values and select Next.
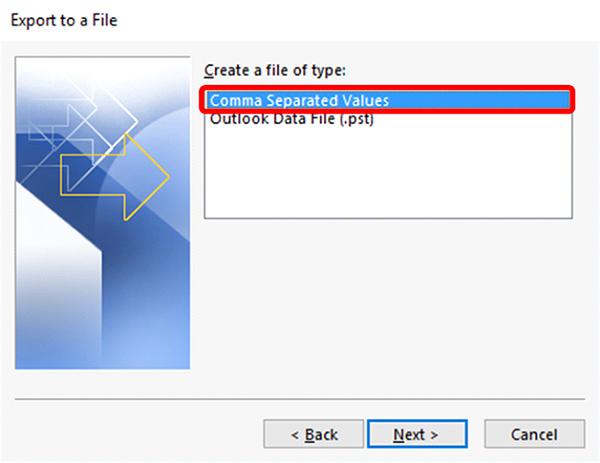
Select 'Comma Separated Values', then Next
4. In the next Export to a File dialog box, find your Contacts folder and select it, then select Next.
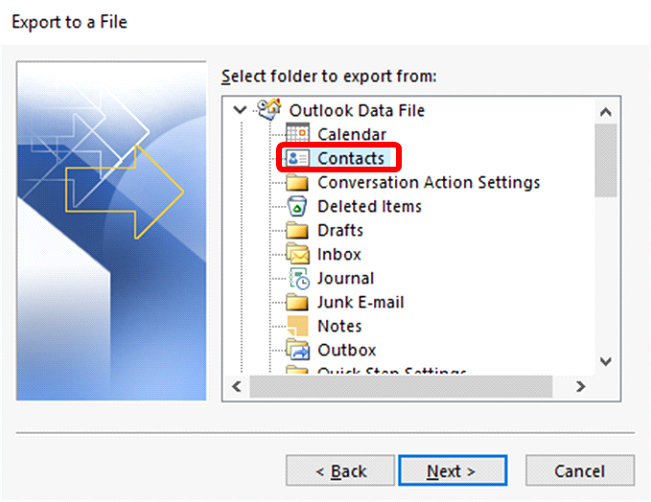
Select the 'Contacts' folder, then click Next
5. In the next screen, click Browse and navigate to the location you want to save the .csv file to. You'll need to find this later to import to FileFlex, so give it a memorable name and click Next.
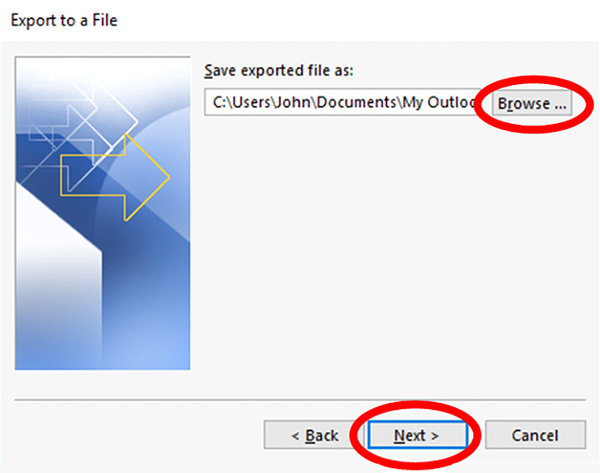
Save the exported file, then click Next
6. In the next Export to a File dialog box, select Finish.
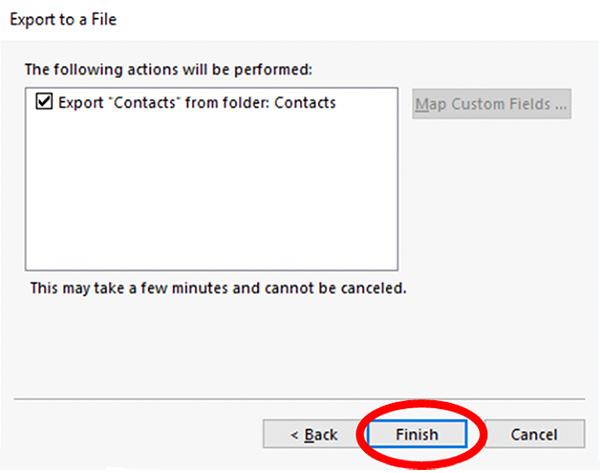
Click Finish
7. Open FileFlex and open the contact view by selecting Contacts in the Application sidebar menu
8. Click the Activity Menu icon in the top right of the Activity Bar
9. Choose Import Contacts

Import Contacts
10,. In the "Import from" dialog box, select Outlook.

Select Outook
11. Optionally put the imported contacts into a group or create a new group, then hit Next.
12. In the Import from the delimited file dialog box, select Choose File.
13. Navigate to the contacts file you exported from Outlook and select Upload. The default download location is your Downloads folder.
14. In the Contacts Imported dialog box, select Done.