How to Remotely Edit / Collaborate Documents
Remote Editing is a powerful feature of FileFlex that allows you to remotely edit files stored anywhere on your organization infrastructure, from your smartphone, tablet, or remote computer, from anywhere in the world.
When you remotely make edits to files, FileFlex will save the edited file back to the source storage repository while keeping a version history that you can revert to if needed.
To remotely edit a file:
1. Open the storage repository where the file is located and navigate to the file and click its activity menu (3 dots). In the dropdown, choose 'Check-out'.
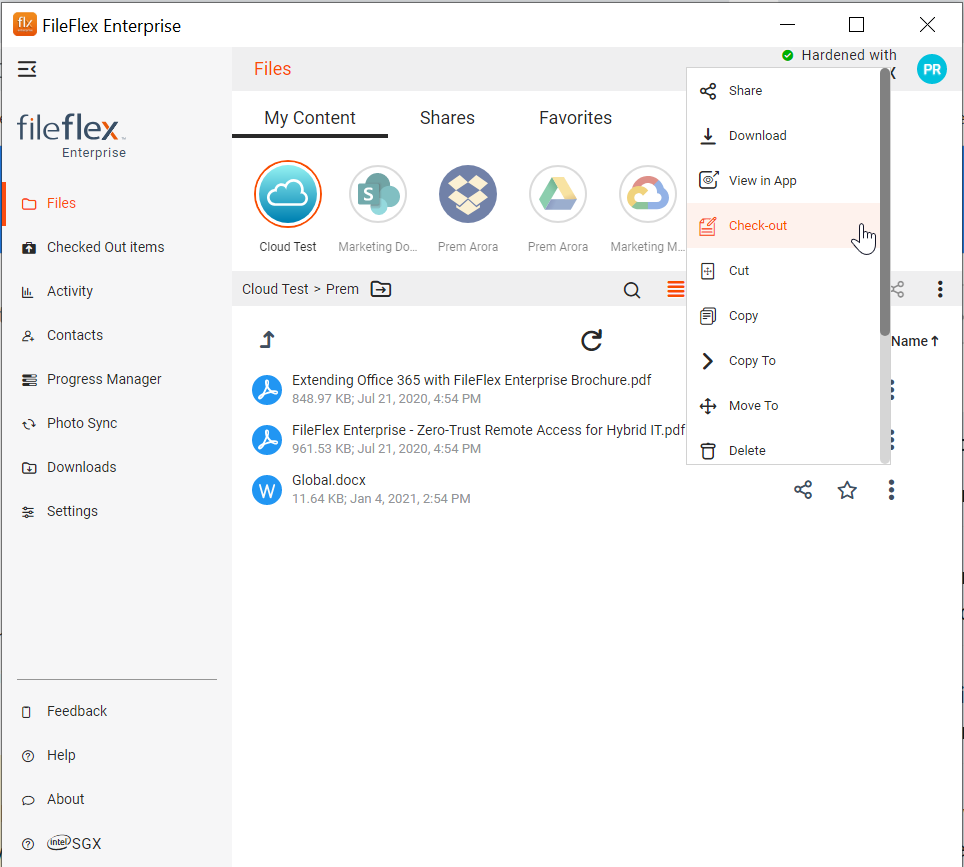
Choose Check-out
Note: Once you check-out, the file is marked as locked. No other user who has access to the same file can make any changes to it. Other users can only preview the file till the time file is checked-in again.
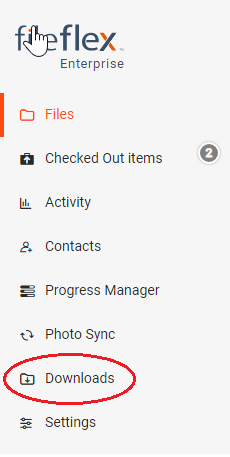
2. If you are using a FileFlex desktop or mobile application, the file will be downloaded to the "Downloads" folder. You can access the same folder from your FileFlex Side-bar.
3. If you are using a web browser to access Fileflex, then the file is downloaded as per your browser settings.
4. Navigate to the downloaded file ( using Downloads located on FF Client Sidebar, or browser download location).
5. Open the file in your native application( e.g. MS Office, Photoshop, AutoCAD, etc ) make changes, and save it.
Once you are done with your changes, Go back to FileFlex so that you can check-in ( meaning submit your changes or upload ) the file back to the same location where it was taken from.
6. Go back to FileFlex.
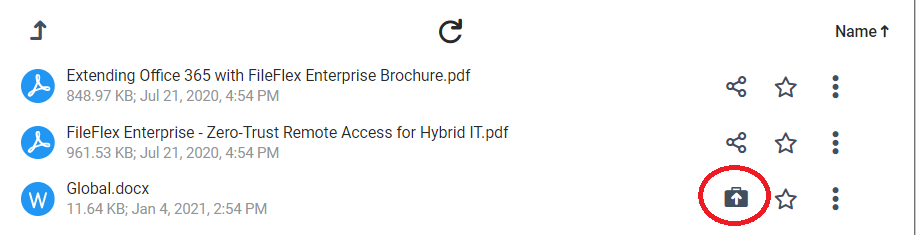
7. FileFlex tracks all the files that are being edited by you in one place. Click the Check-in icon beside the file you just changed or click Checked Out Items, navigate to your file, click the activity menu ( 3 Dot menu) and then select Check-in as shown below.
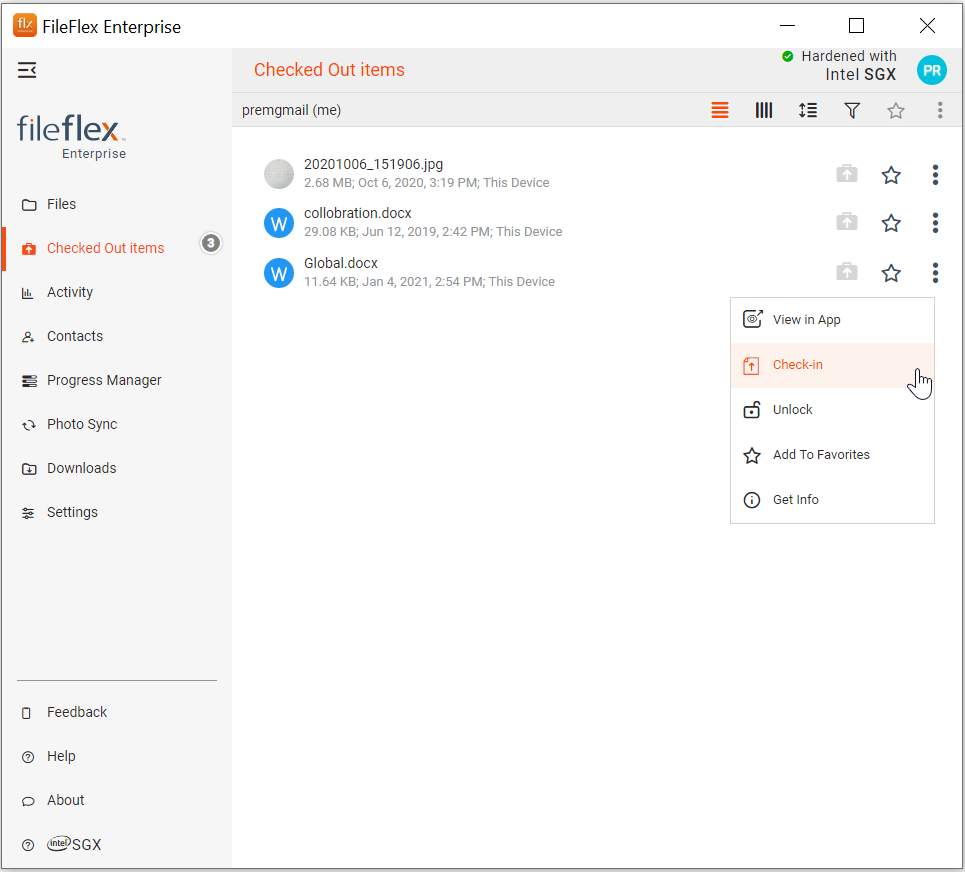
Click 'Check-in'
FileFlex copies the file back to the source storage repository location, versions it, deletes the file from your remote device, and unlocks it in the source location so that others can now edit it.
If you are using a web browser, on clicking "Check-in" you will be prompted to provide the original path where it was checked out.
Key Concepts
Check-Out
FileFlex allows you to edit any file where you have been granted edit permissions. You can be granted file access in the below ways
- Your own files from the content sources added by yourself.
- The files shared by another user with EDIT permission.
- FIles from the content source allocated by the user administrator.
Since the files can be accessed by other users ( in scenarios 2 & 3 above ), as a user you want to ensure no one else modifies the file while you are editing that document.
In order to achieve the same, the file needs to be downloaded to your local device and is marked as locked.
When other users access the file which is marked as locked, FileFlex notifies them that they can't edit the document as it is being edited by another user.
Check-Out is a one-step operation in FileFlex which downloads the file to your local device and marks it as locked.
Once you click Check-Out, files get downloaded to the "Downloads" path.
If you are using a FileFlex desktop client, you can navigate to this location by clicking "Downloads" from the side-bar.
This opens the device explorer and you can now use any relevant application to edit those documents.
E.g. MS Office, Adobe Photoshop, AutoCAD, etc
Once you are done with your changes, you need to save the document to the same location.
Check-in
Once you are done with your changes in a file, you want to ensure the updated file is stored back to the place from where you checked out the file.
You also want to ensure file status gets changed from locked to available so that it is available to other users as well for editing.
Check-in is a one-step process, which does the above tasks.
If you are using FileFlex Desktop Client, then FileFlex remembers where the file was downloaded and you don't need to provide the path of the modified file.
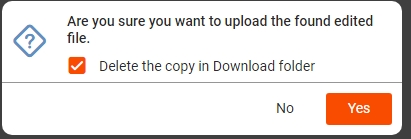
On clicking "Check-in" in a desktop client, you need to confirm your changes, and the file is uploaded and unlocked
If you are using a web browser, you will be prompted to provide the location of the modified document, so that it can be stored back with changes.
File Lock Status
A file is marked as locked if any user that has access to the same file is making changes to it.
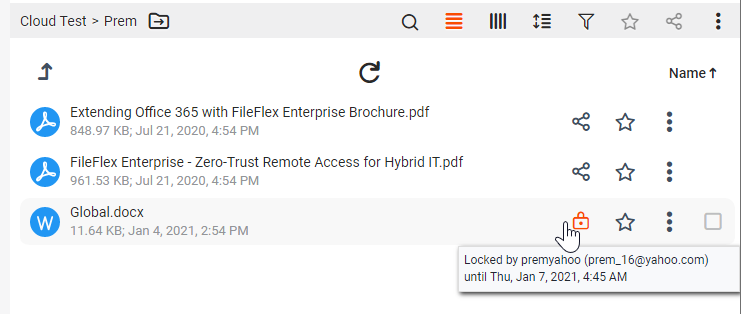
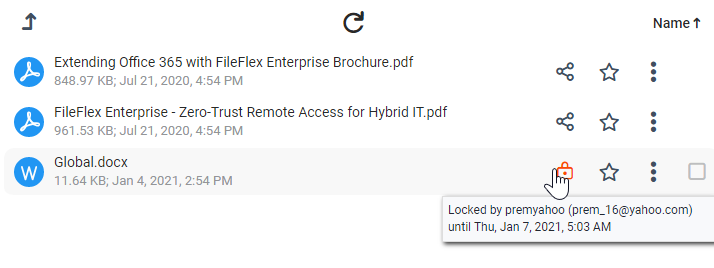
Once a file is being edited it is shown with a locked status on it.
If you are editing your own files, the following icon is displayed.
If a file is being edited by another user, the following icon is displayed.
Unlock File
Once you have checked-out a file and have thus locked the file, you can do two operations on the file
- Make changes in the files and upload it back to where it was stored and release the lock. This is explained above as Check-In.
- You no longer want to make any changes and want to ensure your changes are discarded. You can use the "unlock" command in this case
Clicking "Unlock" simply release the lock you had put up on the file and doesn't require you to upload an unmodified version.
FileFlex keeps track of file revision and your changes are discarded and the file can be modified by other users now.
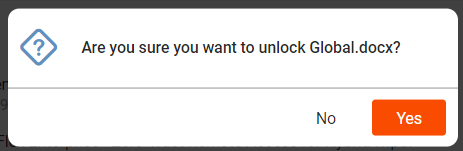
On clicking "Unlock", you are asked for confirmation and FF does the rest.