- Create a folder that can be shared. In the example below we have set up virtual data room folders for 3 clients by simply creating folders that can be shared.
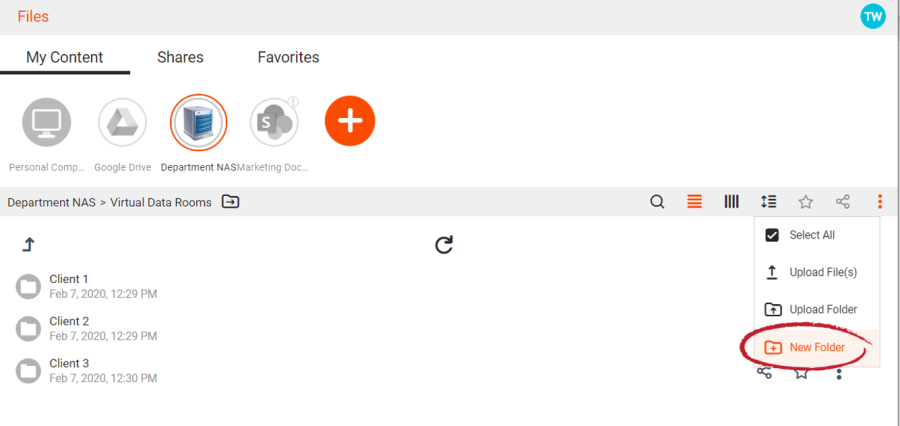 Image Modified Image Modified
Create folders that will be used as Virtual Data Rooms
- Click the Share icon for the folder/data room and bring up the Share dialog.
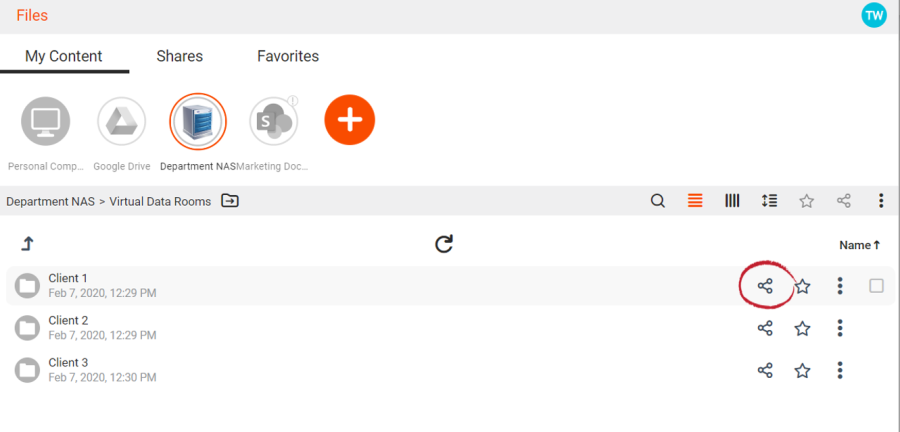 Image Modified Image Modified
Share the folder/data room
- In the share dialog add recipients. In the sharing options, allow for uploads by clicking the 'Upload' radio button. This converts the folder into a virtual data room by allowing the recipient to upload files and folders.
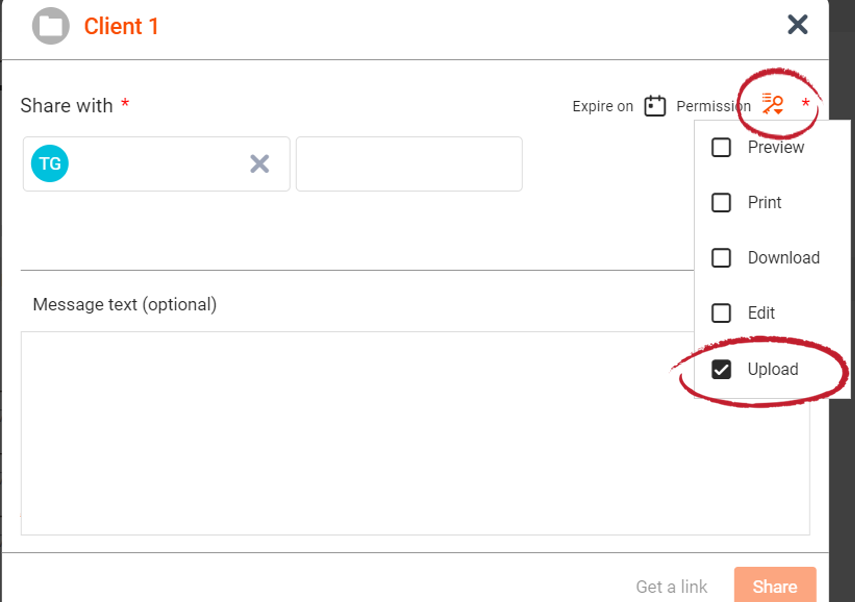 Image Modified Image Modified
Provide Upload permission
- Refine the viewing permissions by selecting Preview, Print, Download or Edit as appropriate. Set an expiry date if desired.
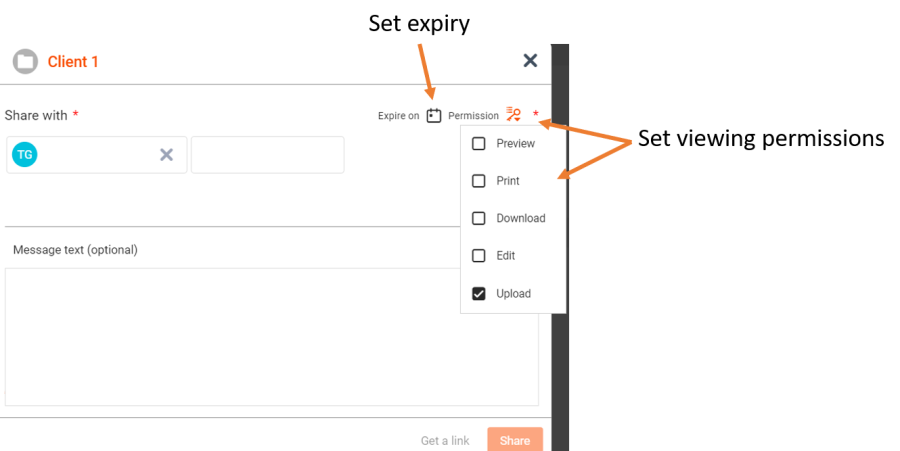 Image Modified Image Modified
Set permissions for your virtual data room
|